Please select the appropriate option


Check the duct and internal hose
Turn off and unplug the machine.
Press the release catch on top of the cyclone and remove the bin.

Check the entry duct hatch for obstructions and that the seal is correctly seated.

Pull the red internal hose collar down, unclip it and then check for blockages.

Reassemble and test the machine.

Has clearing the duct and internal hose resolved the problem?
Check the bin and cyclone
Press the button at the top of the cyclone handle and remove the bin from the machine.

Press the button again to open the bin base.

Press the button near the rectangular inlet to separate the clear bin from the cyclone.
The clear bin can be wiped with a damp cloth.
Do not use any detergent or polish on any part of the machine.

Check the bin and cyclone for blockages and remove as necessary.
Clear any hair or fibres from the cyclone shroud
Do not use any water on the cyclone.
Reassemble and test the machine.
How to wash the filters
Your machine has two washable filters which require washing at least once every 3 months.
Remove the pre-filter
Remove the bin and cyclone from the machine and unclip the cyclone top handle.
Pull the filter out from the cyclone.

Wash with cold water only. Do not use detergents.

Remove the post-filter
Lay the machine on its side.
Turn the blue central locking dial on the outer cover of the ball anti-clockwise until the cover is released.
Lift off the cover.

Turn the filter one-quarter anti-clockwise to release.

The filter should be rinsed and tapped out until the water runs clean, then tapped out again to ensure all excess water is removed.

Dry filters
Leave to dry completely for a minimum of 24 hours.

Test the machine
Reassemble and test the machine.

Test the hose suction
To release the Wand, open the Wand cap and pull the Wand up and away from the handle until it clicks into place.

Press the button on the hose collar to release the Wand from the hose.
Test the suction from the hose.

Is the suction from the hose strong or weaker than usual?
Check the Wand
Look through both ends of the Wand and remove any blockages.
Check the Wand for damage.

Check the Brush bar
Plug in and switch on the machine.
Recline it into the vacuuming position.

Check the Brush bar through the window at the front of the Cleaner head.

Does the Brush bar spin when the machine is reclined?
Reset the Brush bar
To reset the Brush bar press the Brush bar control button twice or switch the machine off and back on.
Please note: In normal use, the Brush bar automatically turns off when the machine is upright and automatically turns on when the machine is in the vacuuming position.

Clear the Cleaner head
Turn off and unplug the machine.
Lay the machine on its front. Taking care, remove the swivel C-clip connector and pull the cleaner head away from the vacuum's main body.

Undo the soleplate by turning both fasteners anti-clockwise.

Remove the soleplate and carefully cut away any hair or fibres using scissors.
Check the Brush bar for signs of damage.

Check the opening on the Cleaner head for blockages and remove as necessary.

Reassemble the machine
Refit the soleplate by locate the 3 lugs on the soleplate into the receiving recesses on the Cleaner head.

Lock the soleplate by turning both fasteners outwards as far as they will go.

Place the C-clip onto the Cleaner head.

Push the Cleaner head onto the machine until it clicks.

Reassemble and reset the Brush bar again.
Switch off and unplug the machine before proceeding.
Check inlet suction
Turn off and unplug the machine.
Recline the machine into the vacuuming position.
Lay the machine on its front. Taking care, remove the red swivel C-clip connector and pull the Cleaner head away from the vacuum's Main body.
Turn the vacuum over so that the bin is facing upwards. Place your hand over the opening then turn on and test the suction.

Is the suction at the Cleaner head inlet strong or is it weaker than usual?
Clear the Cleaner head
Turn off and unplug the machine.
Lay the machine on its front. Taking care, remove the swivel C-clip connector and pull the Cleaner head away from the vacuum's Main body.
Undo the soleplate by turning both fasteners anti-clockwise.
Open the soleplate and carefully cut away any hair or fibres using scissors.
Check the Brush bar for signs of damage.
Check the opening on the Cleaner head for blockages and remove as necessary.
Reassemble the machine
Refit the soleplate by locate the 3 lugs on the soleplate into the receiving recesses on the Cleaner head.
Lock the soleplate by turning both fasteners outwards as far as they will go.
Place the C-clip onto the Cleaner head.
Push the Cleaner head onto the machine until it clicks.
Turn on and test the machine.
Has this resolved the problem?
Check the duct and internal hose
Turn off and unplug the machine.
Press the release catch on top of the cyclone and remove the bin.

Only remove the valve hose if you feel you are able to refit it. It is slightly more difficult to refit than the lower duct hose.
Check the changeover valve
Press the button at the top of the cyclone handle and remove the bin from the machine.
Remove the hose
Press the release catch and remove the hose from the appliance.

Check the changeover valve for blockages and remove as necessary.
Reassemble and test the machine.
Check the duct and internal hose
Turn off and unplug the machine.
Press the release catch on top of the cyclone and remove the bin.
Check the entry duct hatch for obstructions and that the seal is correctly seated.
Check where the hose connects for any blockages.
First remove Phillips head screw (may not be present in all variants) and pull the internal hose collar down.
Unclip it and then check for blockages.
Reassemble and test the machine.
Has this resolved the problem?
Reset the Brush bar
To reset the Brush bar press the Brush bar control button twice or switch the machine off and back on.
Please note: In normal use, the Brush bar automatically turns off when the machine is upright and automatically turns on when the machine is in the vacuuming position.
Thermal cut out
Most Dyson vacuums have a built in safety system that stops the machine if it begins to overheat. This usually happens because the filters need washing or your machine is blocked.
Carry out the performance checks, and if your machine cuts out unplug and leave for at least 2 hours to cool down.
If the customer prefers to check the machine when the power has returned, wait for a minimum of 2 hours and ask them to call back.
Please select the appropriate option
Check the Brush bar
Plug in and switch on the machine.
Recline it into the vacuuming position.
Check the Brush bar through the window at the front of the Cleaner head.
Reattach the Cleaner head
Remove the C-clip from the Cleaner head, and align the Cleaner head on the machine.
Slide the C-clip onto the machine, ensuring it clips into place on both sides.
The C-clip may initially only clip on one side. Some force may be needed to clip it in on both sides.
Which part is broken?


Clear the Cleaner head
Turn off and unplug the machine.
Lay the machine on its front. Taking care, remove the swivel C-clip connector and pull the cleaner head away from the vacuum's main body.
Undo the soleplate by turning both fasteners anti-clockwise.
Remove the soleplate and carefully cut away any hair or fibres using scissors.
Check the Brush bar for signs of damage.
Check the opening on the Cleaner head for blockages and remove as necessary.
Reassemble the machine
Refit the soleplate by locate the 3 lugs on the soleplate into the receiving recesses on the Cleaner head.
Lock the soleplate by turning both fasteners outwards as far as they will go.
Place the C-clip onto the Cleaner head.
Push the Cleaner head onto the machine until it clicks.
Reassemble and reset the Brush bar again.
Is the Brush bar now spinning?
Check the duct and internal hose
Turn off and unplug the machine.
Press the release catch on top of the cyclone and remove the bin.
Check the entry duct hatch for obstructions and that the seal is correctly seated.
Pull the internal hose collar down, unclip it and then check for blockages.
Ensure that you return the machine to the upright position by pushing it firmly into place until it clicks. The stabiliser wheels will automatically lower.
Check the changeover valve
Press the button at the top of the cyclone handle and remove the bin from the machine.
Remove the hose
Press the release catch and remove the hose from the appliance.
Check the changeover valve for blockages and remove as necessary.
Reassemble and test the machine.


Further help
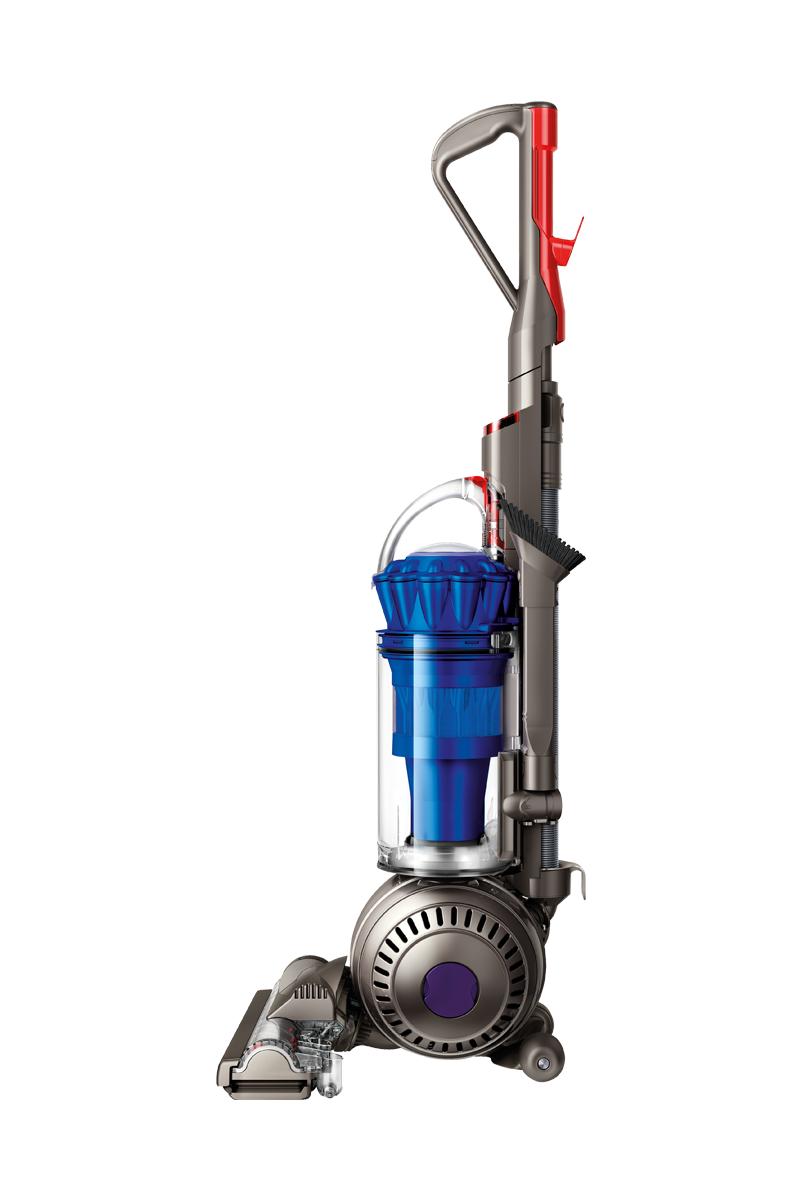
DC41 Animal™