Let's get your machine working
Dyson Cu-Beam Up light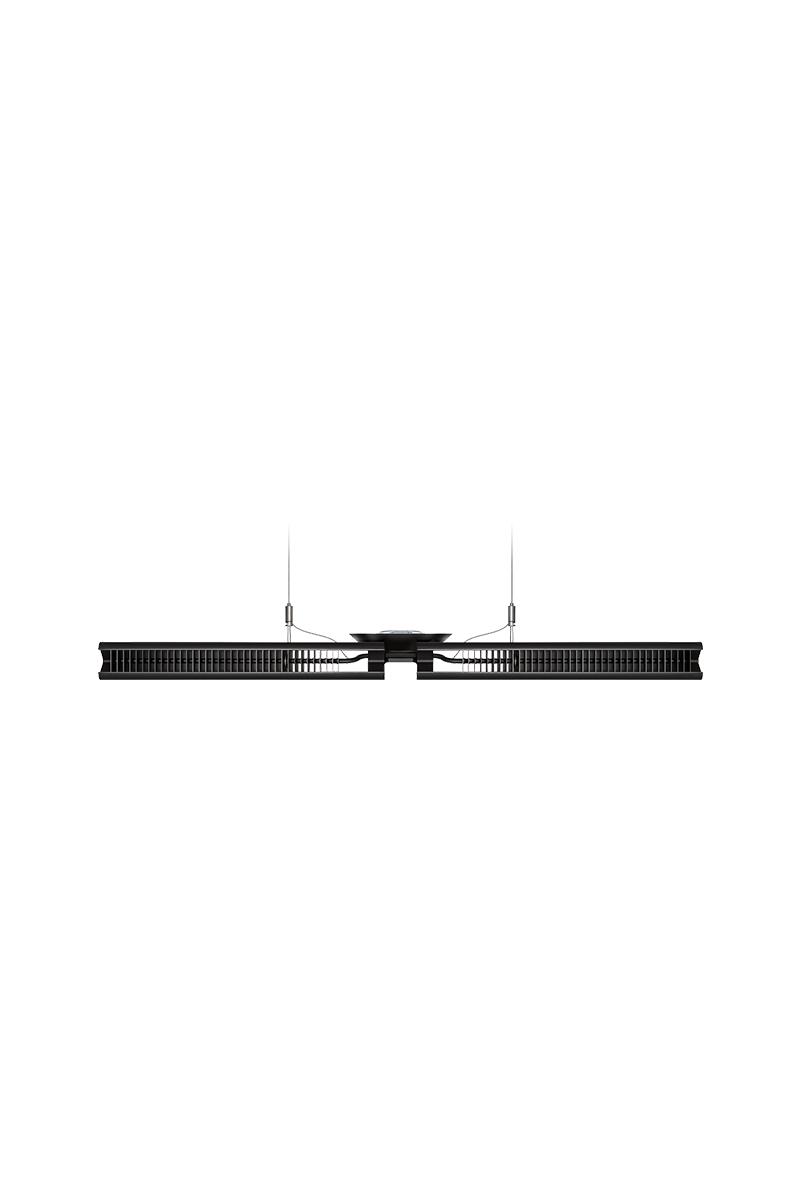
Let's get your machine working
Dyson Cu-Beam Up light
Popular queries
Please select the appropriate option
Please select the appropriate option
Cleaning instructions
As per the recommendations in the operations guide, use a microfibre cloth or solvent and moisture free compressed air canister to clean the appliance.
Please ensure the appliance is turned off before cleaning.

Please select the appropriate option
Please select the appropriate option


Please select the appropriate option
Check that other appliances in the room are working, such as other lights, air conditioning, fans/heaters etc.
This is likely to be an issue with the electrical supply and will need to be resolved by an electrician.
Only check the light if it is safe to do so. If there is any doubt please contact an electrician or maintenance personnel.
This is likely to be an issue with the electrical supply and not related to machine itself.
This issue should be resolved by an electrician.
Check voltage
Please check that the correct voltage is being supplied to the drive box 110 - 240V Max.
Please also check the voltage to the Luminaire (as shown) is 40V
Please only check the light if it is safe to do so, if there is any doubt we advise you to contact an electrician or member of maintenance personnel.

Test the fuse
Turn off the light and remove power supply. Ensure that there is no power to the light before removing the fuse.
Turn the meter on and set it to OHMS.
Put one lead on each end of the fuse and check the display on the meter.
Please note; All electrical installation and repair work should be carried out by a qualified electrician in accordance with current local codes or regulations.
Fuse type - 4 AMP 250v Fuse.
The DALI (Digital Addressable Lighting Interface) is a data protocol and transport mechanism. The common platform of DALI enables equipment from different manufacturers to be connected.
In this instance, we use this as a lighting management control system.
Please disconnect the DALI system. If the light is operational it should power on.
You may need to speak to your DALI engineer to resolve this issue.

As the light is working when the DALI is not connected it is likely to be an issue with the DALI system.
Please contact a DALI engineer to resolve this issue.
Please replace the fuse and retest the light.
Fuse type - 4 AMP 250v Fuse.
Find the text version of the step-by-step guide instead, under "Has this resolved the performance issue?"
Has this resolved the performance issue?
These instructions are intended to assist fully qualified electrical engineers only - no one else should attempt the activity or any other installation or repair work relating to the product. All work must be carried out in accordance with current local codes and regulations.
Replacing the fuse
Caution should be exercised at all times when operating at height and/or using any drilling or sawing equipment, including appropriate clothing and safety wear.
Before carrying out any maintenance or repair work, read all instructions and cautionary markings in the provided instruction pack.
Turn off power to all circuits (including DALI if applicable) in accordance with local regulations prior to carrying out any maintenance.
Remove the two Torx T10 screws from the Ceiling box and remove the fascia.
Check to ensure the ceiling box is not live.
You may wish to unplug the connector to gain access to the fuse holder.
Using a flat head screwdriver, rotate the fuse holder a quarter turn anti-clockwise to remove from the ceiling box.
Remove and dispose of the old fuse as per local codes and regulations.
Check that other appliances in the room are working, such as other lights, air conditioning, fans/heaters etc.

Projecting up
Light appears from the top of the product.

Projecting down
Light appears from the base of the product.

Please note; If the product has been set-up correctly there should be no/little glare - however some customers may prefer to use a dimmer to reduce the output of the light.
All electrical installations and repair work should be carried out by a qualified electrician in accordance with current local codes or regulations.
This means that the light has been installed in the wrong orientation and the issue can be resolved by reinstalling the light correctly.
All electrical installations and repair work should be carried out by qualified electrician in accordance with current local codes or regulations.
It is recommended that the lights are installed over 2.5m from the floor to prevent glare.

At what height is the product from the floor?
This issue could be resolved by installing a dimmer switch.
Below is information on the different dimmer types available on market.
Analogue dimming, this is usually referred to as 1-10v dimming.
DALI - A lighting management control system.
AC mains/TRIAC
AC/TRIAC dimmers are designed for resistive loads such as incandescent or halogen lights. These phase controlled dimmers are not compatible with LEDs since LEDs do not appear as a resistive load.
Alternatively the issue could be resolved by moving the light to a different location in the room.
We do not advise customers to replace the wires as this will invalidate the guarantee. The wires used are to an exact Dyson specification.
It is recommended that the product is installed over 2.5m from the floor to prevent glare.
Please note; All electrical installation and repair work should be carried out by a qualified electrician in accordance with current local codes or regulations.
Please refer to the installation guide.
Dimmer types
Analogue dimming - this is usually referred to as 1-10v dimming.
DALI - A lighting management control system.
AC mains/TRIAC - AC/TRIAC dimmers are designed for resistive loads such as incandescent or halogen lights. These phase controlled dimmers are not compatible with LEDs since LEDs do not appear as a resistive load.
What kind of dimmer is the product installed with?
The light is not compatible with AC/Mains Triac, it will need to be installed with a compatible dimmer in order to dim.
Compatible dimmer - OSram DALI MCU
Please note: a converter is required if an analogue dimmer is being used.
The product is not compatible with analogue controls, it will need to be installed with a compatible dimmer, or an analogue to DALI converter, in order to properly function.
Compatible dimmer - OSram DALI MCU
Please disconnect the DALI system. If the light is operational it should power on.
You may need to speak to your DALI engineer to resolve this issue.
As the light is working when the DALI is not connected it is likely to be an issue with the DALI system.
Please contact a DALI engineer to resolve this issue.
Please consult an electrician as to whether the light has been installed with a compatible dimmer.
Dimmer types
Analogue dimming - this is usually referred to as 1-10v dimming.
DALI - A lighting management control system.
AC mains/TRIAC - AC/TRIAC dimmers are designed for resistive loads such as incandescent or halogen lights. These phase controlled dimmers are not compatible with LEDs since LEDs do not appear as a resistive load.
The product needs to be installed with a compatible dimmer in order to adjust the brightness.
Compatible dimmer - OSram DALI MCU
Please consult an electrician as to whether the light has been installed with a compatible dimmer.
Dimmer types
Analogue dimming - this is usually referred to as 1-10v dimming.
DALI - A lighting management control system.
AC mains/TRIAC - AC/TRIAC dimmers are designed for resistive loads such as incandescent or halogen lights. These phase controlled dimmers are not compatible with LEDs since LEDs do not appear as a resistive load.
Please select the appropriate option
Your Dyson Cu-Beam light will have been provided with 4m of cable.

We do not advise customers to replace the wires as this will invalidate the guarantee. The wires used are to an exact Dyson specification.
We do not advise customers to replace the wires as this will invalidate the guarantee. The wires used are to an exact Dyson specification.
The Dyson Cu-Beam lights are only approved for use with the supplied cable. This cable is to an exact Dyson specification. Replacing the cables will invalidate the guarantee.
Please note; All electrical installation and repair work should be carried out by a qualified electrician in accordance with current local codes or regulations.
Replacing the fuse
Please follow the steps in the video.
Find the text version of the step-by-step guide instead, under "Is there anything else we can help you with?"
Is there anything else we can help you with?
These instructions are intended to assist fully qualified electrical engineers only - no one else should attempt the activity or any other installation or repair work relating to the product. All work must be carried out in accordance with current local codes and regulations.
Replacing the fuse
Caution should be exercised at all times when operating at height and/or using any drilling or sawing equipment, including appropriate clothing and safety wear.
Before carrying out any maintenance or repair work, read all instructions and cautionary markings in the provided instruction pack.
Turn off power to all circuits (including DALI if applicable) in accordance with local regulations prior to carrying out any maintenance.
Remove the two Torx T10 screws from the Ceiling box and remove the fascia.
Check to ensure the ceiling box is not live.
You may wish to unplug the connector to gain access to the fuse holder.
Using a flat head screwdriver, rotate the fuse holder a quarter turn anti-clockwise to remove from the ceiling box.
Remove and dispose of the old fuse as per local codes and regulations.
Test the fuse
How to test a fuse:
Turn off the light and remove power supply. Ensure that there is no power to the light before removing the fuse.
Turn the meter on and set it to OHMS.
Put one lead on each end of the fuse and check the display on the meter.
Please note; All electrical installation and repair work should be carried out by a qualified electrician in accordance with current local codes or regulations.
Fuse type - 4 AMP 250v Fuse.
Please select the appropriate option
Installation video
Please follow the steps in the video.
Find the step-by-step guide instead, under "Is there anything else we can help you with?"
Is there anything else we can help you with?
Installation guide
The installation guide can be found on the above link.
Included in the box with your Cu-Beam up light:
Template.

Ceiling box.

Spring Hanger x2.

Ceiling box fascia.

Installation bracket x2.

Screw pozi drive x4.

Adjustable Hangar x2.

Uplight Luminaire.

Please select the appropriate option
Ensure the electricity is switched off before opening the driver box.
Serial number location
Please follow the steps in the video.
Find the text version of the step-by-step guide instead, under "Is there anything else we can help you with?"
Is there anything else we can help you with?
On the underside of the driver box.
Inside the driver box.
On the underside of the driver box.
The technical specification can be found on the above link.
How to replace the luminaire
Please follow the steps in the video.
Find the text version of the step-by-step guide instead, under "Is there anything else we can help you with?"
Is there anything else we can help you with?
These instructions are intended to assist fully qualified electrical engineers only - no one else should attempt the activity or any other installation or repair work relating to the product. All work must be carried out in accordance with current local codes and regulations.
Replacing the luminaire
Caution should be exercised at all times when operating at height and/or using any drilling or sawing equipment, including appropriate clothing and safety wear.
Before carrying out any maintenance or repair work, read all instructions and cautionary markings in the provided instruction pack.
Turn off power to all circuits (including DALI if applicable) in accordance with local regulations prior to carrying out any maintenance.
Remove the old Luminaire by pushing the release barrel downwards and pulling the wire out of the adjustable hangers.
Carefully remove the spring hangers and adjustable hangers from the existing Luminaire and attach to the new one.
Ensure both hangers are securely fastened.
Adjust the new Luminaire to the previously installed height and check to ensure it is level.
The positive wire from the ceiling box is red in colour, ensure this is connected to the red terminal on the Luminaire.
Attach each wire and tighten the screws.
We need a little more information to help us solve your issue.
Please contact our customer service team on 01-475-7109, or directly on Live Chat through our Digital Assistant by clicking the purple icon at the bottom of the page. You can start a conversation with an Expert by clicking the agent icon at the bottom left of the chat window.
We're glad the problem's been solved.
Please let us know if there's anything else we can help you with.
The Dyson guarantee

'How to ' videos and tips

Exclusive owner benefits

Expert advice. 7 days a week.

Hassle-free repairs and replacement
Please get in touch.
Our experts are ready to help you.
UK based helpline open
8:00am- 8:00pm Monday to Friday
8:00am- 6:00pm Saturday and Sunday
Further help
Dyson Cu-Beam Up light